I show two different meothods, one using Sony AVC H.264 .mp4 and the
other with Windows Media Video .wmv
To get your 720p or 1080p HD Video looking fantastic there are two
steps involved:
Firstly you have to set your Project Property Settings correctly.
Many Video Cameras or DSLR Cameras all shoot with different settings -
like different frame rates and whether it is Progressive or Interlaced
Video. It is important to know where you want your finished product to
be displayed, because this determines which settings you choose in the
Project Properties.
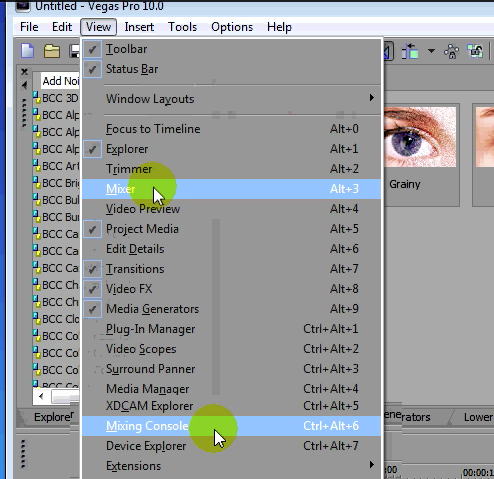
Project
Properties
The
Project Properties
window seen in the following screenshot can be accessed by selecting
the
File menu and
choosing
Properties
or by pressing
ALT +
ENTER:
Go ahead and open the
Project
Properties window. Across the top of the
Project Properties window
you will see five tabs. Under the
Video tab the first information box is called
Template. Inside this
drop-down box you will find a comprehensive list of templates. Usually,
one of these templates will do the job perfectly for you, but knowing
what the templates contain is needed before you can decide. Let's cover
the important information and fields you need to know.
Standard Definition
versus High Definition
The fast paced times we live in has seen the video
production world going through some major changes due to advances in
technology. Especially in the new worlds of Home Theatre, High
Definition TVs, DVD and Blu-ray players, Web-based Television and
podcasts, as well as Digital Cinema. Th
Sony Vegas Pro 11 Advanced
Editing Software Review
Vegas Pro 11 is a welcome upgrade to this classic
professional editing tool.
Some software upgrades are about flashy new
interfaces and sexy new features, and others have more to do with
supercharging the engine under the hood in order to boost the overall
performance. This past year, video editing tools have been working on
the flashy side with support for working with 3D video, but the real
focus has continued to be on the machinery - taking advantage of today's
64-bit architectures to work efficiently with large clips in memory,
combined with GPU (graphics processing unit) hardware to significantly
speed up video processing.
We've seen this trend in Adobe Premiere Pro CS5, with the
GPU-accelerated Mercury Playback Engine introduced last year, and with
the application available only for 64-bit systems. Similarly, Vegas Pro
10 from Sony Creative Software was released last year with both 32-bit
and 64-bit versions, and with GPU acceleration for rendering to AVC
format.
Now Sony has released Vegas Pro 11, with full-up GPU acceleration for
video processing, effects, and rendering, for speed ups across editing,
playback, and output. Besides the under-the-hood improvements, the new
Vegas also enhances editing with features including sync link, adds new
technology including advanced video stabilization, and provides deeper
support for editing 3D material including 3D Titler Pro.
GPU Acceleration
Integrating GPU acceleration into video editing software involves
several trade-offs, balancing the number of video processing operations
that are accelerated, the level of optimization for each effect, and the
range of GPU processors and board hardware versions supported - all
across different manufacturers, widely varying numbers of processors and
associated on-board memory, and different functions available for
acceleration.
Adobe's answer for Premiere Pro was to optimize for the NVIDIA line
of graphics cards, taking advantage of the CUDA programming interface.
With Vegas Pro 11, Sony has taken the approach of using the OpenCL (Open
Computing Language) standard for parallel programming, to support a
variety of GPU cards from both NVIDIA and AMD, with at least 512 MB of
GPU memory. Sony's benchmarks show three to four times improvement in
playback performance on mixed-format projects during editing compared to
Vegas 10, and two to four times improvement in rendering the final
output.
For video editing and playback, Sony reports that the Vegas 11
overhaul accelerates a substantial chunk of the built-in video
processing, including crossfades, fades, alpha compositing, framerate
resampling, time remapping, interlace processing, pan/crop, track
motion, opacity, fade-to-color, and multicamera display. Plus it
accelerates over 45 effects, transitions, generators and compositors --
with effects including gaussian blur, black and white, cookie cutter,
bump map, mask generator, sepia, lens flare and chromakeyer, plus
transitions such as cross effect, iris, and clock wipe.
Plug-Ins / Stabilization
Another aspect of the Vegas Pro 11 retrofit was rebuilding the
underlying architecture for video effects plug-ins based on the Open
Effects Association platform. This new suspension provides an enhanced
interface to allow third-party developers to more easily develop cool
new Vegas plug-ins to better smooth your ride.
Sony also uses this platform for built-in tools, including the new
advanced video stabilization plug-in, with high-performance shocks to
reduce the jittery or shaky video caused by handheld recorders. The
plug-in analyzes the motion within a clip on all three camera axes, so
you can build on the presets to independently control the precision for
pan smoothing (left/right), tilt (up/down) and zoom. It also provides
rolling-shutter correction for the JELL-O/skew/wobble effects caused by
some CMOS camcorders.
Sync Link
Within the passenger compartment, Vegas Pro 11 includes other
enhancements for a more comfortable ride in your editing workflow,
including adding a search box to effects windows (including a new
compositors window) along with folders so you can more easily find and
group plug-ins, and per-parameter keyframing for some effects and
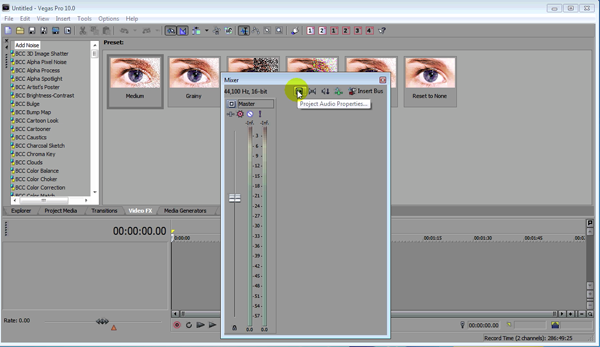
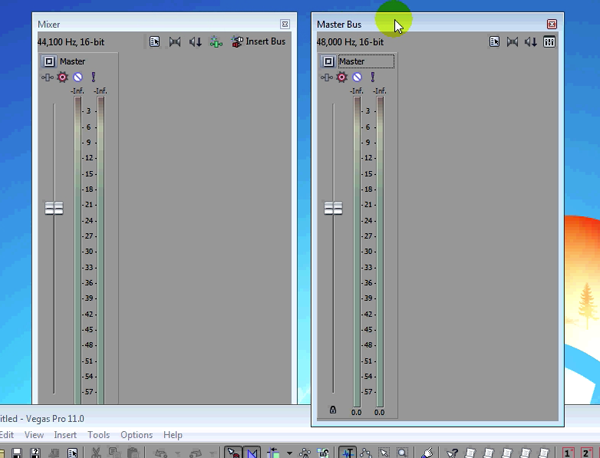
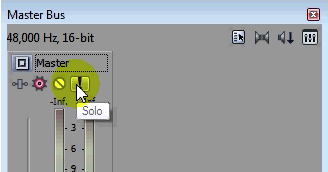
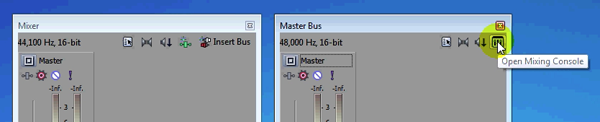
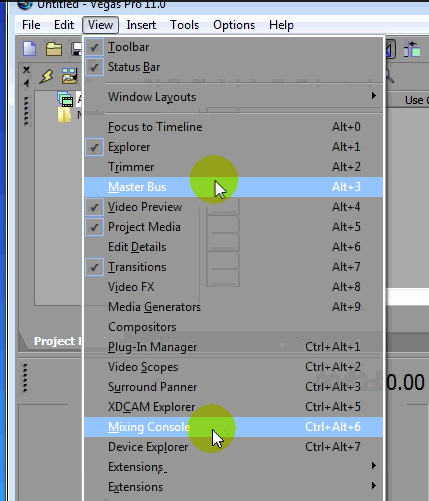
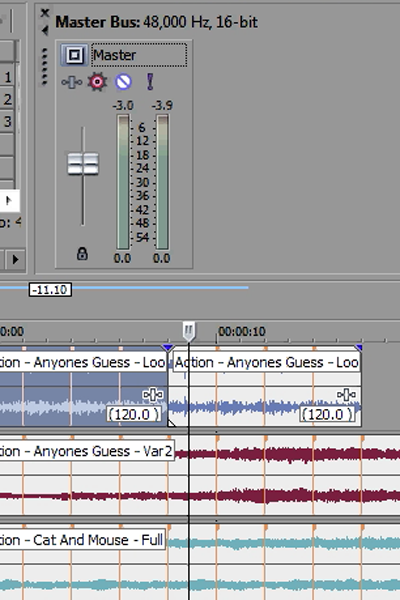
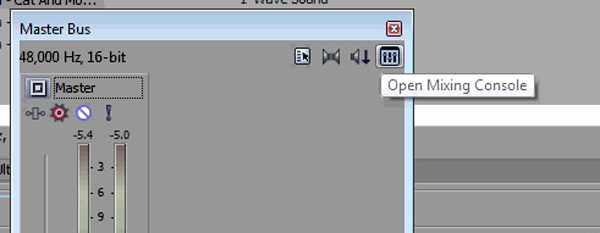
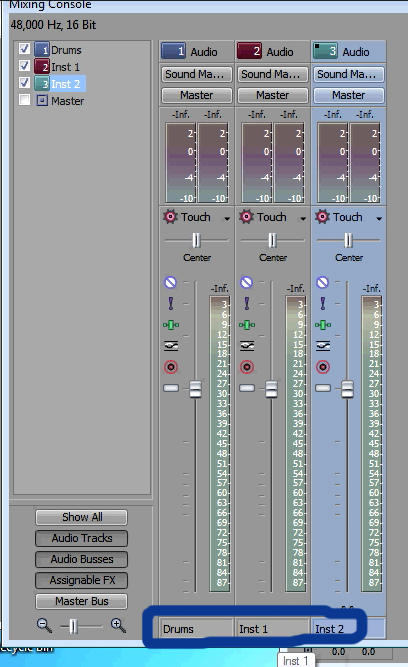
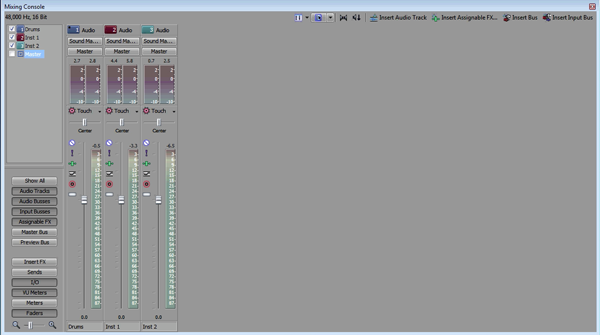
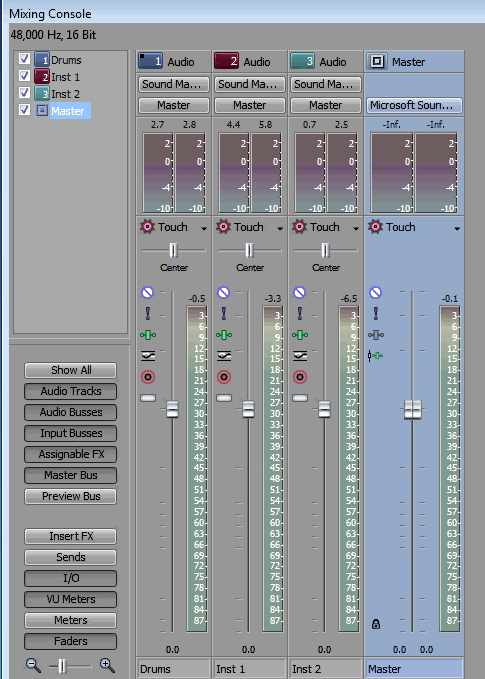
transitions. For audio, Sony also cleaned up the mixing console and
simplified the master bus window.
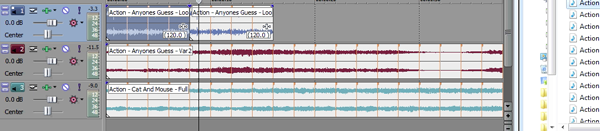
But the major new editing feature in Vegas Pro 11 is sync link, a
mechanism for keeping events aligned and synchronized across multiple
tracks. Sometimes layered tracks are relatively independent, as with
picture-in-picture, but other times you need to have secondary audio and
B-roll video clips and titles that are tightly matched to the main
track. With sync link, you can manually link one or more events on child
tracks so that they automatically move together with the main event on
the timeline. Meanwhile, you still can edit and adjust the child events
independently.
3D Styling
3D is the flashy new feature for this year's generation of video
tools, like a rear spoiler designed to add dimension to the car. Vegas
Pro 11 has deepened its support for working with 3D material with
stereoscopic 3D alignment and depth adjustment tools, floating window
controls, and horizontal offset controls for 2D effects and transitions
to adjust the perceived depth of effects. And Vegas Pro 11 supports
NVIDIA 3D vision hardware to allow editing on single-display 3D
computers, including Sony 3D desktops and laptops.
Then to detail your 3D production, Vegas Pro 11 also adds NewBlue
Titler Pro for creating stereoscopic 3D titles with animations,
professional-style templates, and effects, controlling text down to
character level and on the X, Y, and Z axes.
Titlers
To further enhance your production vehicle, Vegas now supports a
total of four different text titling plug-ins. You can use the basic
text plug-in for simple text overlays, or move up to the new titles and
text plug-in to create 2D animated effects. The improved ProType Titler
provides more sophisticated animations, including scrolling and crawling
credits, splined curves, and per-word and per-character animation. And
there's NewBlue Titler Pro for 3D animated titles.
Rendering
When your trip is done and you are ready to render your project,
Vegas Pro 11 has cleaned up the Render As dialog to provide more
efficient selection of output format templates, based on the project
settings, your favorites, or your own customized settings. Vegas Pro 11
helps with the profusion of formats by marking formats that match your
project, providing text search options to match specific devices, and
providing more filtering options to match specific video or audio
attributes. Plus, you can now upload directly to YouTube.
The render formats now also include AVC/MP4 for Internet
distribution, with support for progressive download from streaming
servers. And Vegas Pro 11 also adds native import and editing of RAW
photo files with the Microsoft Camera Codec Pack for Windows 7 and
Windows Vista.
...Stays in Vegas
Sony Vegas Pro 11 is a classic and comfortable vehicle for video
editing. Version 11 adds some nice refinements with the same comfortable
feel, but the real action is under the hood with a significant
turbo-boost from GPU acceleration that makes this a welcome upgrade. So
download the trial version to kick the tires, and even download Sony's
benchmark projects to see how they perform on your own system. Then put
the pedal to the metal, or the mouse to the track.
Tech Specs
Trial Version Available: Yes - No Limitations
Operating System: Windows Vista or Windows 7,
32-bit or 64-bit
Minimum CPU: 2 GHz processor (multicore or
multiprocessor CPU recommended for HD or stereoscopic 3D)
Minimum RAM: 2 GB (4 GB recommended)
Minimum Hard Drive Space for Installation: 500 MB
Capture Formats: (DV25, DV50, Analog Capture Cards,
MicroMV, DVD Camcorders, HD Ready)
Batch Capture: Yes
Automatic Scene Detection: Yes
User Interface: Customizable, via dockable windows
Number of Video/Audio Tracks: Unlimited
Nesting Tracks: Yes
Audio/Video Level Envelopes: Yes. Volume/Pan/FX
Audio Scrub: Yes
Keyframe Animation: Yes
Number of Video Transitions: More than 200
Number of Video Filters: 58, plus nine via the
inclusion of the NewBlue Titler Pro software; More than 390 effects
Background Rendering: Available via multiple
instances of Vegas Pro 11 running simultaneously
Realtime Software Previews: Yes
Optimized for Dual Processor/HyperThreading: Yes
Third-party Plug-in Support: OpenFX-based plug-ins
[GenArts, Boris FX, Red Giant, NewBlue FX, Imagineer Systems, Re:Vision,
and more
Batch Render: Yes, via custom scripting or the
Production Assistant 2.0 companion software
DVD Authoring Software Included: Yes, DVD
Architect Pro 5.2
System Requirements: OHCI-compatible IEEE-1394DV
card (for DV and HDV capture and print-to-tape), USB 2.0 connection (for
importing from AVCHD, XDCAM EX, NXCAM, or DVD camcorders),
Windows-compatible sound card, DVD-ROM drive (for installation from a
DVD only), Supported CD-recordable drive (for CD burning only),
Supported DVD-R/-RW/+R/+RW (for DVD burning only), Supported BD-R/-RE
drive (for Blu-ray Disc burning only), Microsoft .NET Framework 3.5 SP1
(included on application disc), Apple QuickTime 7.1.6 or later for
reading and writing QuickTime files, Internet Connection (for Gracenote
MusicID Service), Supported NVIDIA or ATI cards for GPU-acceleration
NVIDIA: Requires a CUDA-enabled GPU and driver
270.xx or later with a GeForce GTX 4xx Series or higher GPU (or driver
285.62 or later with a GeForce GT 2xx Series or higher GPU).
AMD/ATI: Requires an OpenCL-enabled GPU and
Catalyst driver 11.7 or later with a Radeon HD 57xx or higher GPU. If
using a FirePro GPU, FirePro unified driver 8.85 or later is required.
Supported File Formats
DVD encoding, Video: NTSC 4:3, NTSC Widescreen, PAL
4:3, PAL Widescreen
DVD encoding, Audio: AC-3 5.1 or stereo, PCM
BD encoding, Video: MPEG-2 or AVC, 1080-60i,
1080-50i and 1080-24p
BD encoding, Audio: AC-3 5.1 or stereo, PCM
Strengths
- Classic tool with enhanced editing workflow, including sync link
and advanced video stabilization
- Deep support for professional editing, including pro import and
export formats
- Broader GPU acceleration support across video processing, effects,
and rendering, on both NVIDIA and AMD
- Broader support for 3D editing, including stereoscopic alignment and
depth adjustment of clips and effects
Weaknesses
- Plug-in architecture can cause components to be too loosely
integrated, as with multiple different titlers
- No integrated batch / background rendering for exporting in multiple
formats (but has scripting)
- Missing updates for included programs
Summary
Vegas Pro 11 is a welcome upgrade to this classic professional
editing tool, with GPU acceleration for video processing, effects, and
rendering that supports both NVIDIA and AMD hardware, enhances editing
with workflow improvements including Sync Link, and technology upgrades
including advanced video stabilization for all three axes of camera
motion.