HitFilm integration with Vegas Pro 12 and Movie Studio Platinum 12
While Vegas™ Pro 12 and Movie Studio Platinum 12 contain plenty of powerful compositing tools that cover many of your compositing needs, sometimes you need more. That's why we've worked very closely with the good people at FXhome to create tight integration between Vegas Pro and Movie Studio Platinum and their HitFilm products.HitFilm provides powerful 2D and 3D visual effects at a very affordable price point. This tool brings Hollywood-quality effects and compositing to your studio for a fraction of what you might have thought you'd have to pay for a tool like this. And now, Sony has teamed up with FXhome to provide you with all the tools you'll need to get the job done.
Two new product suites from Sony, the Vegas Pro Suite and Movie Studio Platinum: Visual Effects Suite 2 give you great options for taking your productions to the next level. Both of these suites include versions of HitFilm, so in this article we'll take a look at the integration between Sony and FXhome software. I'm going to write this article as if you already know how to use HitFilm, since we're really focusing on the interoperability between these two applications instead of detailed training for either of them.
Movie Studio Platinum: Visual Effects Suite 2 includes HitFilm 2 Express, while the Vegas Pro Suite includes the super-powerful HitFilm 2 Ultimate. In this article I'll use Vegas Pro 12 to demonstrate the integration between Sony and FXhome, but I'll use HitFilm 2 Express so that Movie Studio Platinum 12 users can follow along. Just remember that HitFilm 2 Ultimate can do everything we'll discuss here and much, much more. Also remember that when I use the names “Vegas Pro” and “HitFilm” throughout this article, I'm also referring to Movie Studio Platinum and both HitFilm 2 Express and Ultimate.
The procedure for moving your files back and forth between Vegas Pro and HitFilm really couldn't be much easier. If you've ever moved an audio file back and forth between Vegas Pro and Sound Forge™ Pro, then you'll be very comfortable with how this integration works.
Before you get started, it's critical to pay attention to the order in which you installed your software. When you install HitFilm, the installer checks for Vegas Pro on your system. If Vegas Pro already exists, the HitFilm installer installs a specific plug-in that establishes communication between the two applications. Thus, it's crucial to the operation for you to install Vegas Pro first and then install HitFilm. If you've already done it the other way around, uninstall HitFilm and with Vegas Pro already installed, reinstall HitFilm. When you're done installing the applications in that order, you're ready to go.
To start, add a file to your Vegas Pro timeline. In Figure 1 you can see that I've added a beach scene to my timeline. The video was shot on mostly sunny afternoon just before sunset. We're going to bring this clip into HitFilm and change the weather to a stormy, rainy day. I've added the same file to two separate events so that we can easily switch back and forth between them to compare before and after once we're done. I've also undocked the Video Preview window and made it much larger so you can see it more effectively.
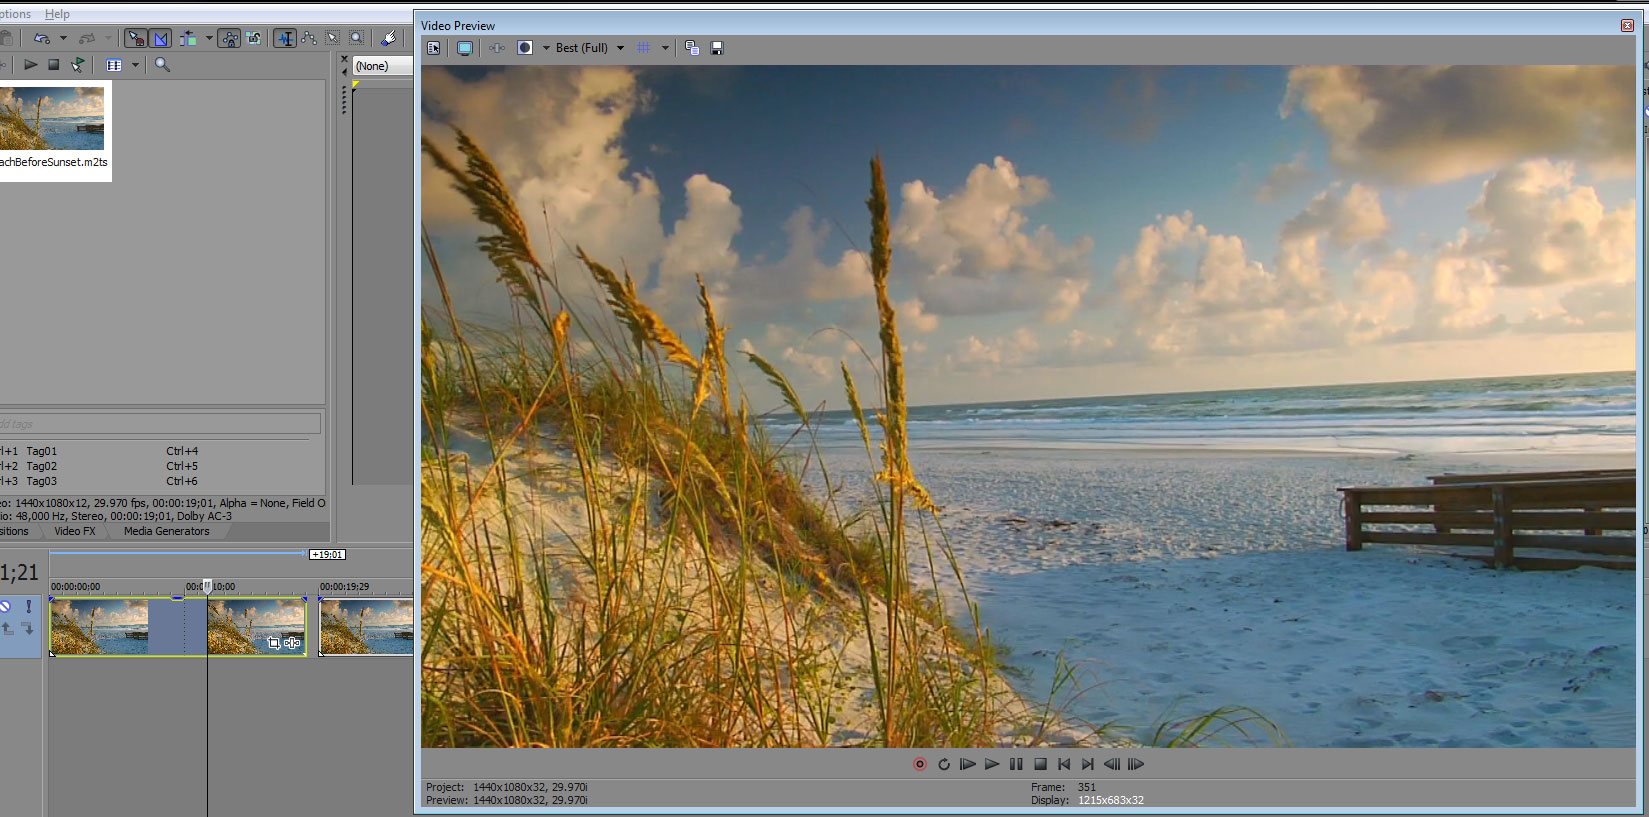
Figure 1: We're going to use HitFilm to turn this fairly
sunny scene into a stormy day.
To create this effect, we'll bring this clip into HitFilm and add dark clouds and rain along with a brightness and contrast filter to make it look darker. To open this clip in HitFilm, right-click the event that holds it on the timeline and choose Add HitFilm Effect from the menu.
This launches HitFilm and opens a new project with your file already on the timeline. Now that you have it in HitFilm, you can work all kinds of magic on the file. First, select the event on the HitFilm timeline and click the Make Composite Shot button. In the Make Composite Shot dialog box, click Convert. Now you can add other elements to this composite shot.
From the Effects tab, click the Quick 3D Expand arrow. Drag the Storm Cloud preset into the timeline. Click Yes when HitFilm asks if you want to add a camera. Figure 2 shows my project so far and you can see that HitFilm has generated a big black storm cloud in the middle of my preview window.
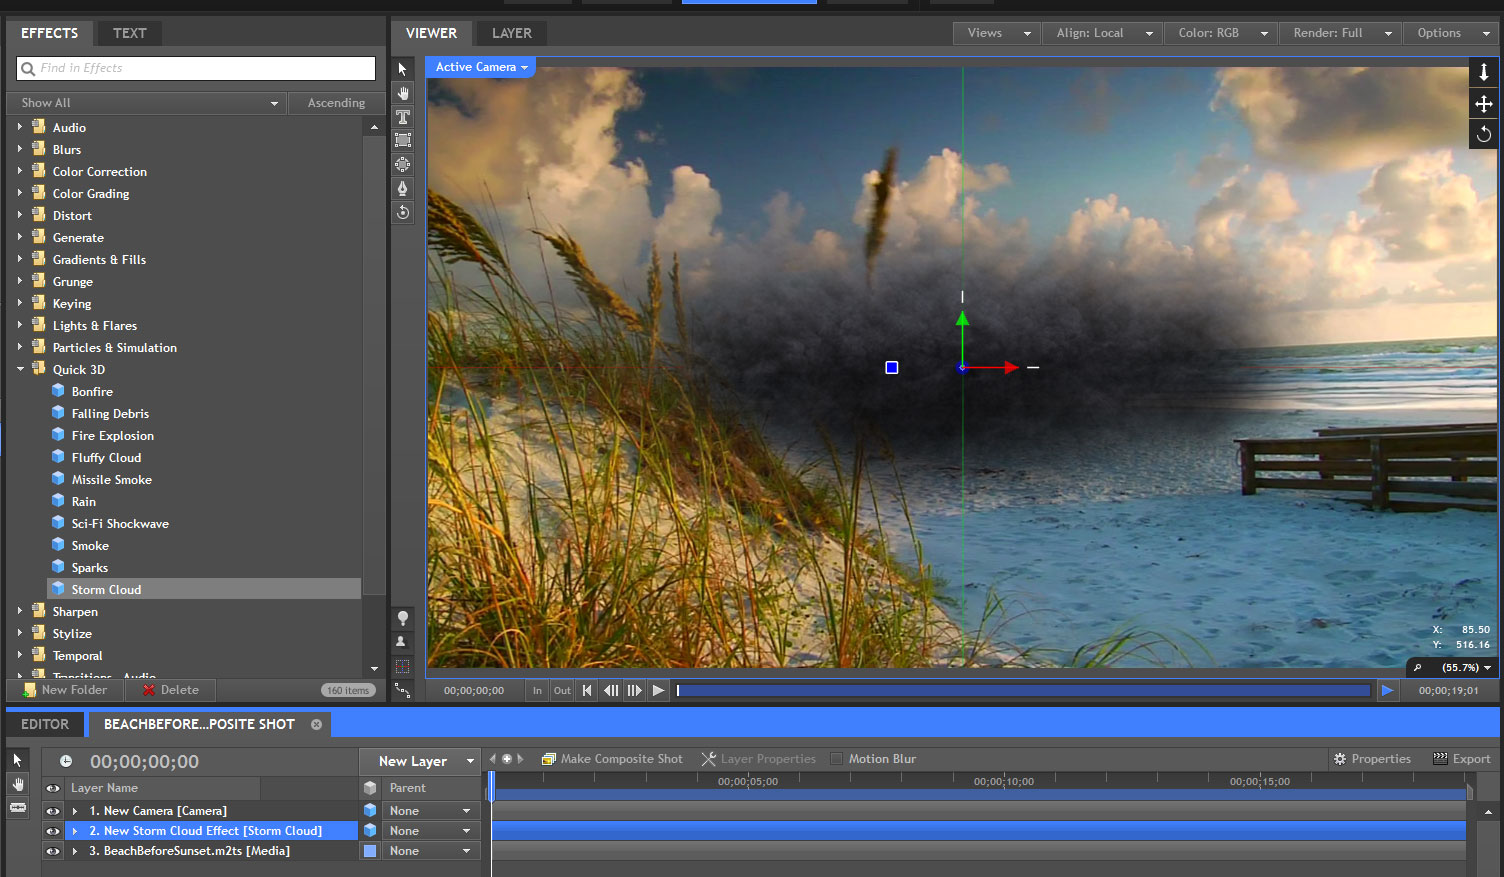
Figure 2: We've added a storm cloud generator to the
composite shot in HitFilm.
Use the Transform tools to reposition and resize the storm cloud so that it sits in the sky where you'd expect it to be. Try manipulating the cloud in all three dimensions to get it to look exactly as you want it. Figure 3 shows my project after I've repositioned the dark cloud.
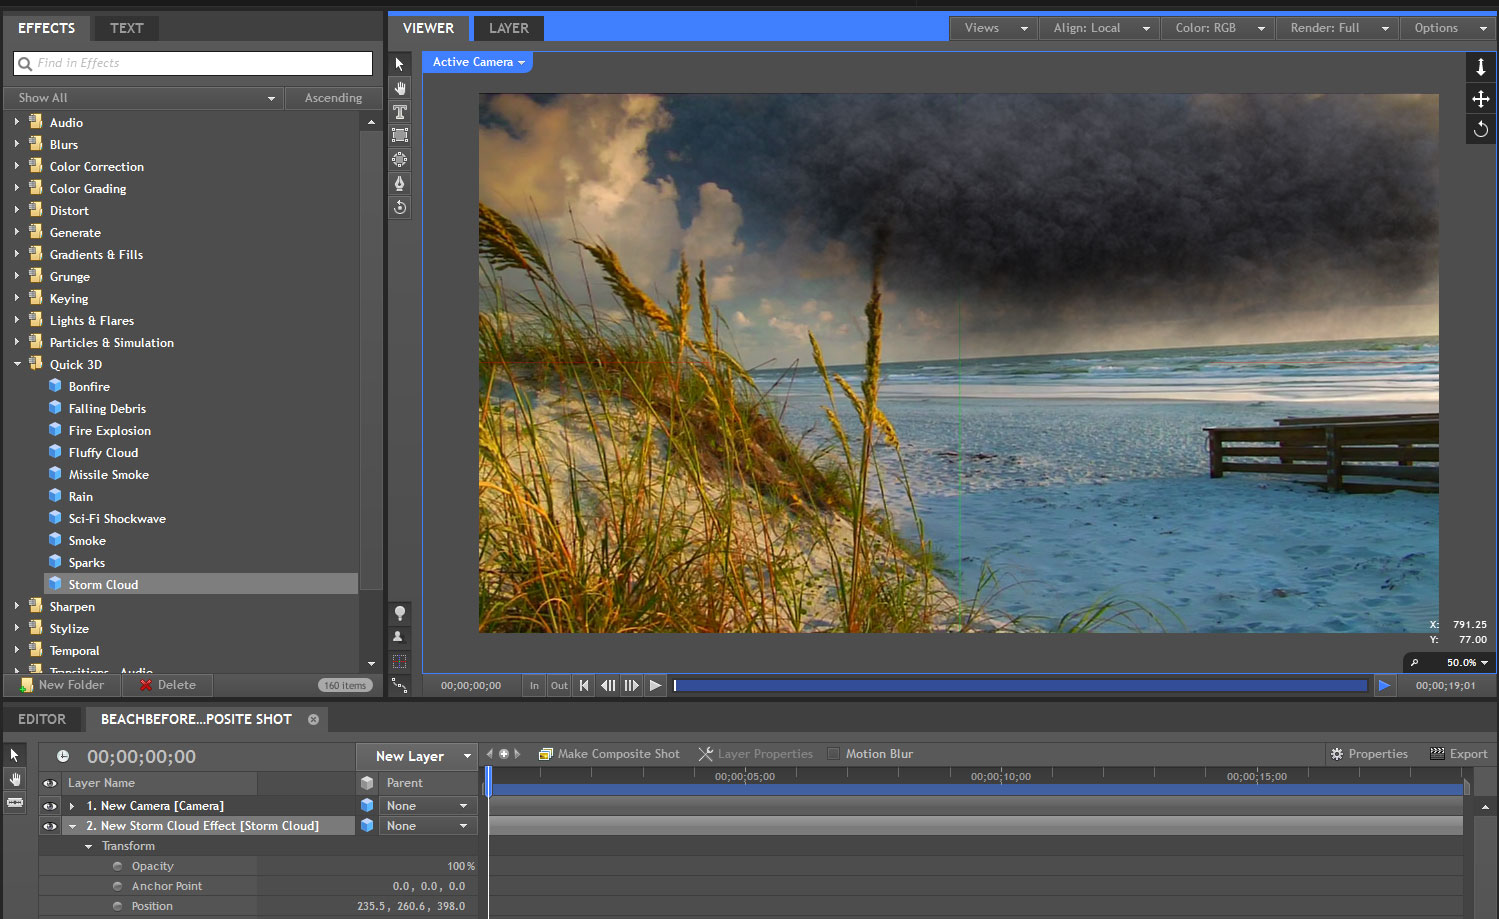
Figure 3: I've resized and repositioned the dark cloud
into a more realistic position in my video.
With the storm cloud in place, let's add
some rain. Drag the Rain preset into the timeline. The
wind is coming from the right in the video, so rotate the rain generator
to make it look as though the rain is being driven by the wind. Make
any other adjustments to the rain that you think it needs in order to
make it look more realistic. Figure 4 shows my project after I've added
and adjusted the rain.
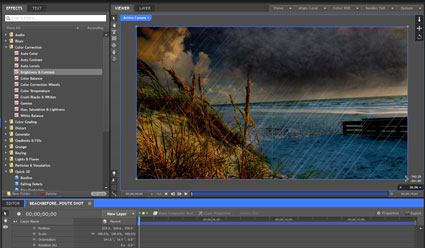
With all of this storming going on, the base layer still looks too bright and sunny, so let's fix that quickly. Click the Color Correction Expand arrow in the Effects tab and drag the Brightness & Contrast filter onto the base layer in the timeline. Adjust the Brightness control to make the scene look darker. Maybe add a touch of contrast to make the scene even more dramatic. Figure 5 shows my results.
You might also want to animate the storm clouds a bit to give the impression that they're swirling and roiling in the fury of the storm. Once you're done with all of your adjustments, click the Save button.
Switch back to Vegas Pro. The event that holds the original clip updates automatically and now you have your stormy-day video on your Vegas Pro timeline. You can work with it just like you would any other clip in your project. You can see my Vegas Pro project in Figure 6.
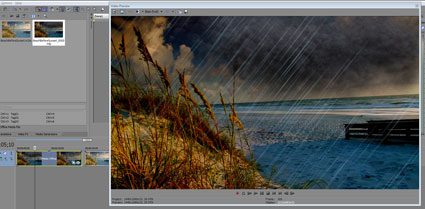
In Figure 6 you can see the difference between the first event on your timeline, which holds the altered clip, and the second event which holds the original clip. Compare Figures 1 and 6 to see how my video looks before and after the adjustments in HitFilm. Also notice the Project Media window. You can see that in addition to the original clip, a new clip appears in the media list. This new clip is actually the HitFilm project you just created.
In other words, when you open an event into HitFilm, Vegas Pro replaces the media that filled the original event with a new piece of media: the HitFilm project file that was automatically created. All of this happens behind the scenes, so you don't need to worry about it. But it does point out that Vegas Pro supports HitFilm project files on the timeline. This means you can add your HitFilm work to Vegas Pro whether you evoked HitFilm from Vegas Pro or not. Once you drop a HitFilm project onto your Vegas Pro timeline, you can edit it just as you would edit any other event. In addition, you can go back to HitFilm and edit your project further there. To do so, right-click the event and choose Edit in HitFilm. When you save your HitFilm project, the file updates automatically upon your return to Vegas Pro.
The interoperability between Vegas Pro and HitFilm makes this team of applications an extremely powerful way to work. For more information on HitFilm, visit the FXhome website. For more Vegas Pro training resources including free videos, webinar archives, training article archives, and more, visit the training page at www.sonycreativesoftware.com/training.
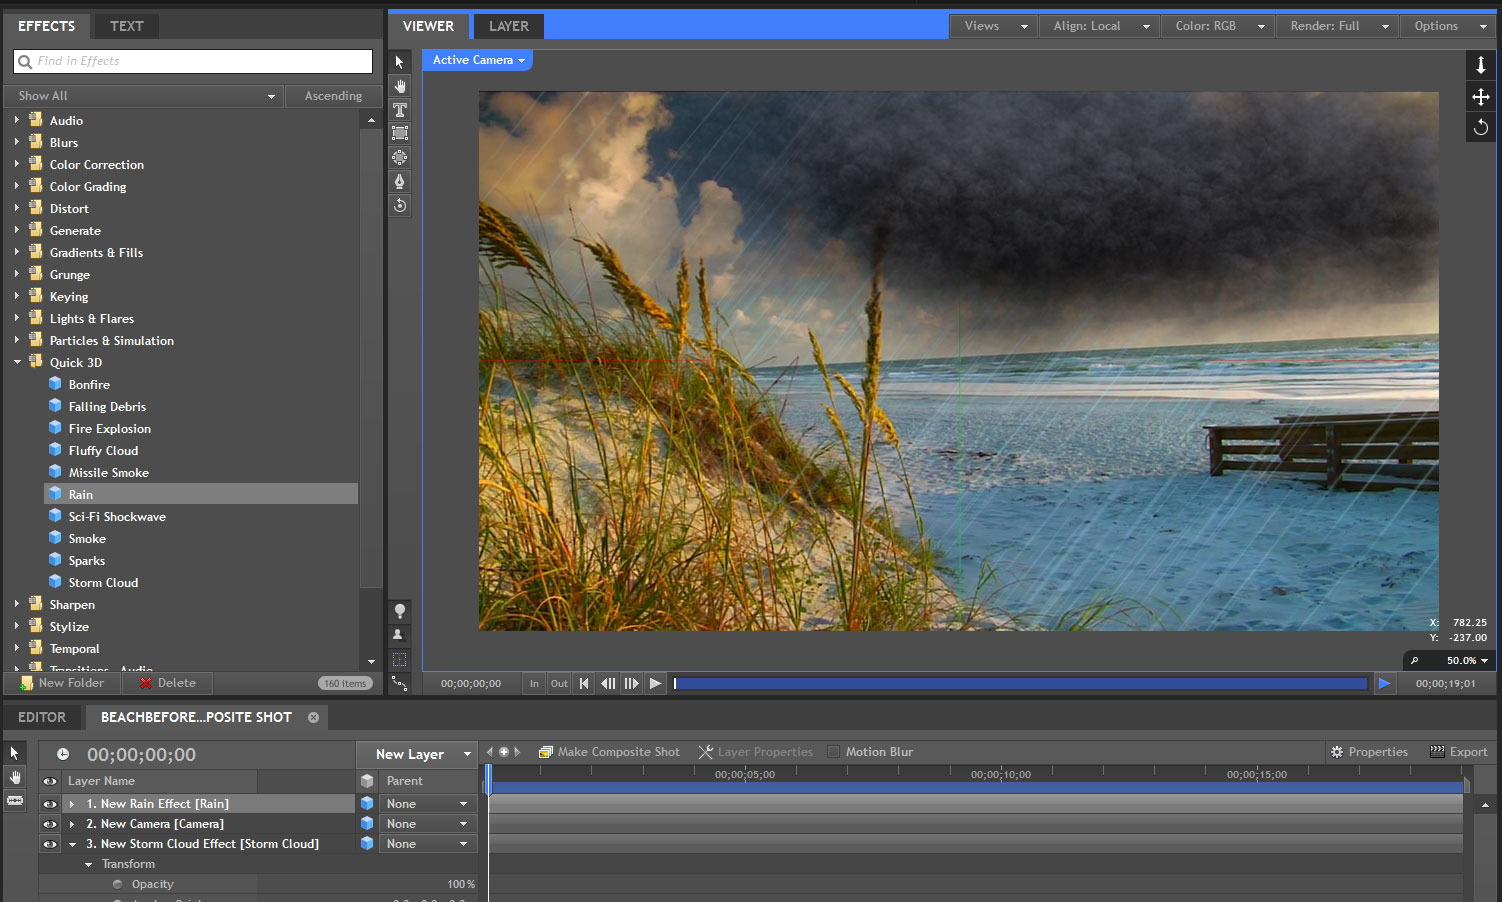
Figure 4: With the rain generator added, the storm's
really starting to kick up!
With all of this storming going on, the base layer still looks too bright and sunny, so let's fix that quickly. Click the Color Correction Expand arrow in the Effects tab and drag the Brightness & Contrast filter onto the base layer in the timeline. Adjust the Brightness control to make the scene look darker. Maybe add a touch of contrast to make the scene even more dramatic. Figure 5 shows my results.
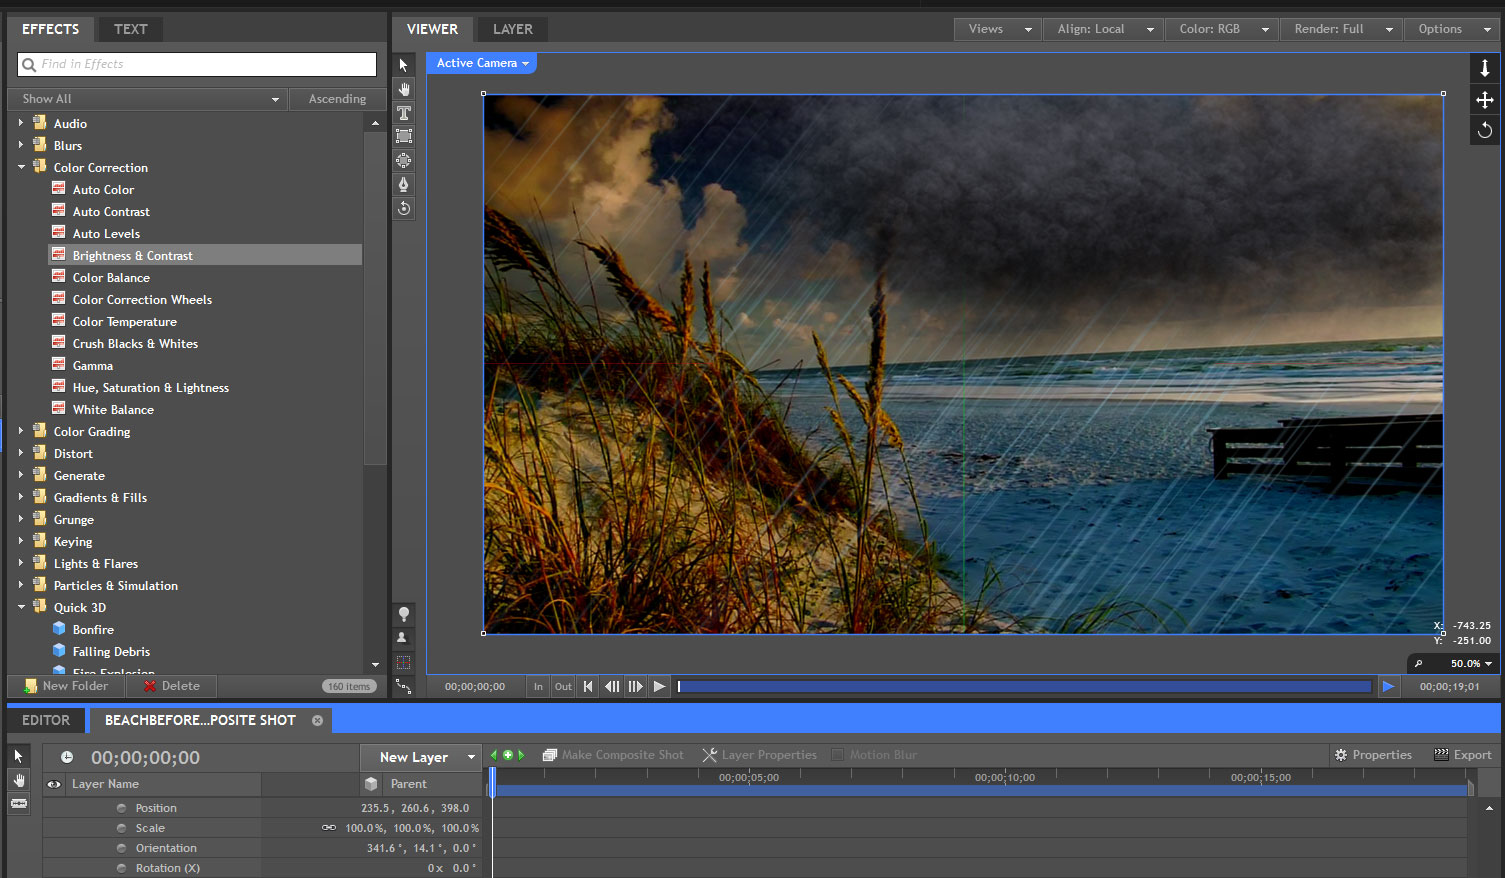
Figure 5: After darkening the base layer, the storm
effect is complete.
You might also want to animate the storm clouds a bit to give the impression that they're swirling and roiling in the fury of the storm. Once you're done with all of your adjustments, click the Save button.
Switch back to Vegas Pro. The event that holds the original clip updates automatically and now you have your stormy-day video on your Vegas Pro timeline. You can work with it just like you would any other clip in your project. You can see my Vegas Pro project in Figure 6.
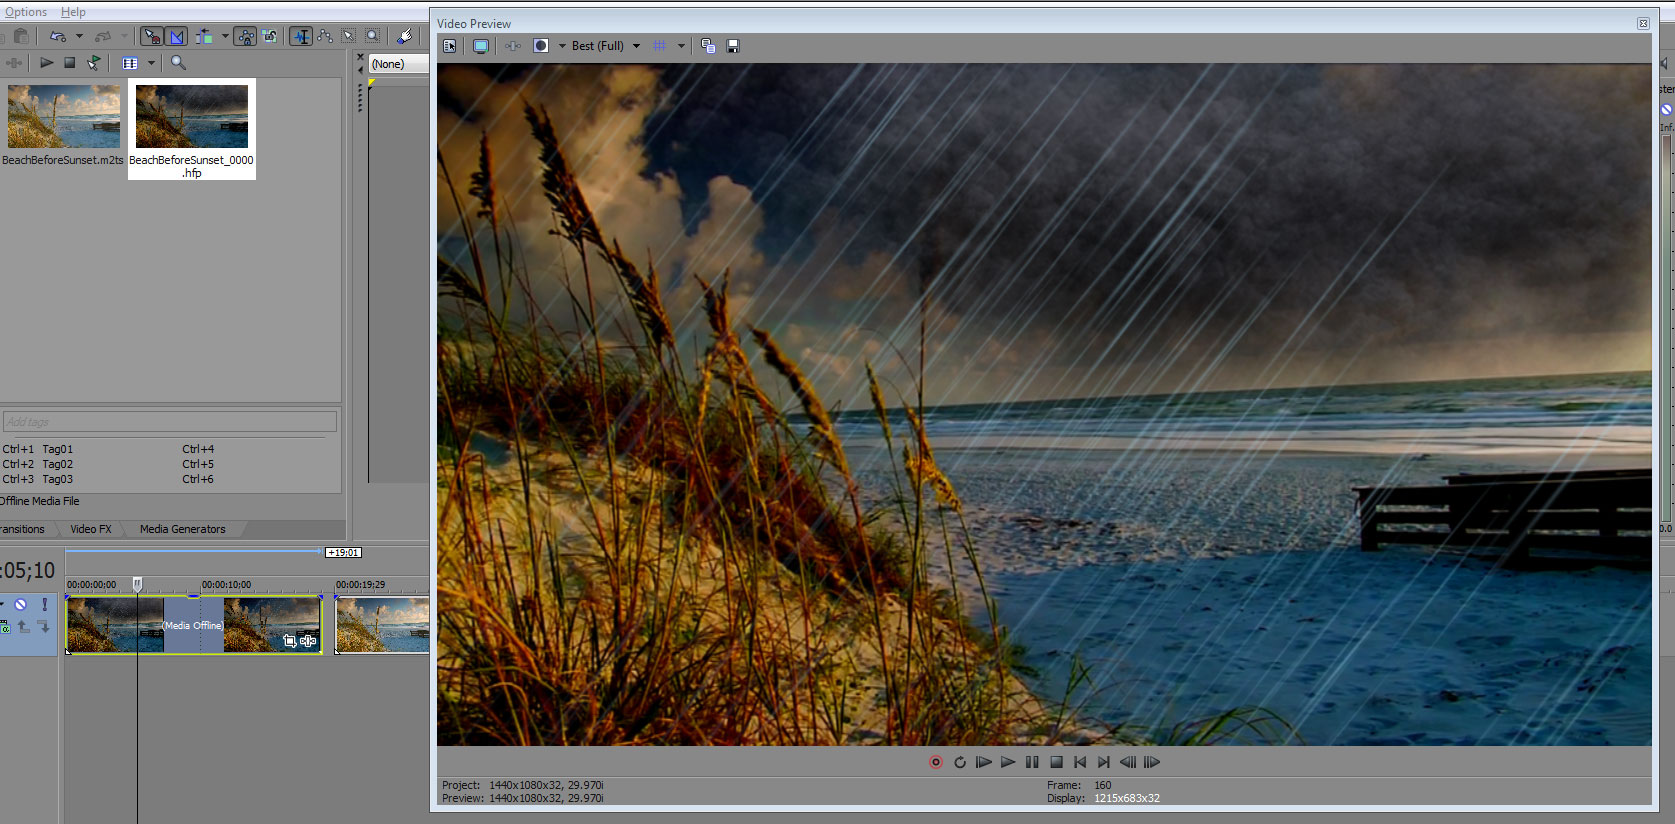
Figure 6: After saving your work in HitFilm and
returning to Vegas Pro, your project updates automatically with the
affected video already integrated into it.
In Figure 6 you can see the difference between the first event on your timeline, which holds the altered clip, and the second event which holds the original clip. Compare Figures 1 and 6 to see how my video looks before and after the adjustments in HitFilm. Also notice the Project Media window. You can see that in addition to the original clip, a new clip appears in the media list. This new clip is actually the HitFilm project you just created.
In other words, when you open an event into HitFilm, Vegas Pro replaces the media that filled the original event with a new piece of media: the HitFilm project file that was automatically created. All of this happens behind the scenes, so you don't need to worry about it. But it does point out that Vegas Pro supports HitFilm project files on the timeline. This means you can add your HitFilm work to Vegas Pro whether you evoked HitFilm from Vegas Pro or not. Once you drop a HitFilm project onto your Vegas Pro timeline, you can edit it just as you would edit any other event. In addition, you can go back to HitFilm and edit your project further there. To do so, right-click the event and choose Edit in HitFilm. When you save your HitFilm project, the file updates automatically upon your return to Vegas Pro.
The interoperability between Vegas Pro and HitFilm makes this team of applications an extremely powerful way to work. For more information on HitFilm, visit the FXhome website. For more Vegas Pro training resources including free videos, webinar archives, training article archives, and more, visit the training page at www.sonycreativesoftware.com/training.




 Сообщения

